Tuesday, September 27, 2016

Plan With Me - Using a Happy Planner kit in an Erin Condren Planner


Hello again! Here I am doing another Plan With Me with no video.
One of these days... I swear.
Anyway, this week the good ol' Erin Condren "colorful" presented me with yet another water-colored challenge...


Purple and orange all over the place.
Ugh.
After considering (once again) to ditch all this colorful crap and run back to my MAMBI Happy Planner... I decided to stick this one out and go with this kit called Let's Fall Away


It's over all scheme is more teal and pink but it has both orange and purple as accents so... there.
What's that - you ask, as you visually measure those decorative full boxes?
Aren't those a little larger than normal?
Well, yes they are, you sticker size expert!
You see, the boxes on the Erin Condren planners and the Classic Happy Planner are both 1.5 inches wide, but the Happy Planner boxes are just over a quarter inch longer taking each daily column farther down the page, and that's exactly what I wanted to try in my EC.

I started out as normal, flipping the book upside down because I find it easier to line the stickers up evenly in my official upside down stacking method. And just to go super crazy here, I started out with my weekend...


Actually that was because this kit has a two box spread that I wanted to see in place.
In the next pic, you can see how much farther the Happy Planner size stickers hang down.
My genius plan coming together... mwah-ha-ha!


Ok, it's not quite Halloween, yet.
But I truly like the way the Happy Planner size stickers came together in the EC...


The HP washi strips for the bottom of the page do not line up properly with the EC columns, but that didn't matter since the columns came all the way down. I didn't need the washi!
I really liked the way it turned out!
It's amazing how small things can make me so happy.
I'm a truly simple girl.


Anyway... you may have noticed all my little stickies on the page before I started my master plan?
That's how I keep track of up-coming events and tasks. When a child tells me she needs a ride to a club meeting, or has an after school function... I immediately put it on a sticky and stick it on the day it's supposed to happen. When a child tells me oops I didn't say Monday, I think it's on Tuesday, I immediately move the sticky to the new day. When the child tells me no, it actually was Monday, I don't why you think it's Tuesday, I immediately move it back to the original spot. And so on.


Usually, by the time I'm ready to plan my week all the stickies have settled into their correct places and I use them as my guide for the quarter boxes which I fill out before sticking them into the book so they might be somewhat legible in my horrendous handwriting.


And here's the pages that I used...


A few leftovers, but there usually are at this point.

That sampler page will be kept close and used up little by little as children come in with more to say.
Oh, did I say that meeting was Monday? Well there's another one Tuesday, of course. I'm pretty sure I told you that already.


And that's it.


All that water coloring didn't exactly blend in, but that's all right. I'm too busy focusing on how cute the Little Things look all lined up at the bottom.
Simple things.

If you have made it this far, thank you for planning with me! Leave a comment below so I know I'm not alone. And if you want to head over to my shop, you can use coupon code 
BLOGGER25 
for 25% off your purchase of $20 or more.


Wednesday, September 21, 2016

Planning My Core Wardrobe For Fall


Today I'm working on what I like to call my closet line-up. 
Ever since I discovered Jennifer over at the daily connoisseur and her french-themed books of polish and poise in the modern world, I have drooled over anything to do with the concept of a 10 item wardrobe, or capsule as it's often called. 
It was funny when I found her about four years ago because it wasn't her beautiful writing that showed me the way out of my overstuffed closet trap, but rather my search for approval on ditching 98% of my attire that found her.
I know the small wardrobe thing has been tossed all over the internet, but at the risk of boring you, I'm going to tell you my own story. Just because.
Every couple of years my sister and I take our kids on a month long road trip to visit the rest of our family back east.
You heard me right. A month long road trip.
Thirty days, two adults, five kids, one car.
Yup.
We've been doing this every couple of years since there were only two kids, and needless to say, by the time we had grown to a full seven passengers, we learned to pack as light as we can.
It was on that particular trip four years ago though, that I really started thinking about how easy it was.
My entire family (minus my husband) had been packed into one large suitcase, and one small travel bag.
That's it.
It really struck me that trip because my kids had grown old enough to pack for themselves so I'd had to come up with guidelines ahead of time. My rule was seven outfits. One that you wear on the day we leave, one in the small travel bag for our first hotel stay, and five in the suitcase. In addition, we each had a swimsuit and cover-up, two pajamas, and a jacket.
 We lived an entire month with just that.
Actually, along the way we lost one bra, one jacket, and a sock, so really we lived with less than that...
and it was heaven!
Every item we had with us was something we loved, fit well, and paired with something else we had. I did laundry whenever we were in a stopping place with machines, and I could do an entire weeks laundry in just two loads! One of lights and one of darks. That's it!
And have it folded up and distributed in no time.
Then we came home.
I did my last easy peasy two loads of laundry to wash the last of the sand out of our travel wear, and we began to stuff and cram our carefully selected items back into our bursting closets of crap.
That's when it hit me.
I didn't want to.
At the time, I hadn't heard of the capsule wardrobe or read about Jennifer Scott's 10 item system, so I thought I was crazy.
I thought I was crazy for wanting to pack up and ditch whatever crap I had left behind and keep only the limited few that had served me so well while we were gone.
I thought I was crazy, but I knew I didn't want to go back to standing in front of a thousand hangers, picking and piecing something to cloth my body for the day. And I certainly didn't want to go back to hauling eight loads of laundry up and down the stairs every week.
Eight.
So that's when I started searching for approval. 
Now that's the real crazy, the fact that I needed some internet article, or self help chapter to justify an easier life for myself.
Crazy.
Anyway, if I haven't bored you too much, that was the beginning of my closet-venture. After coming to the realization that I could do whatever the hell I wanted to do with my clothing situation, because after all I am an adult (and Jennifer Scott said it was ok), I hauled twelve trash bags of clothing to goodwill and never looked backed.
Except to wonder how in the world I actually had twelve bags of useless clothing in my closet to begin with. I am not the type to keep useless stuff. I often "clear out" extra stuff, and I am a regular at the Goodwill drop off door...
The difference this time was in how I cleared out. Instead of standing in front of a thousand hangers and pulling out this and that to get rid of... I pulled everything out and carefully selected what would go in, what I really wanted to wear, and tossed the rest.
And that's what I'm doing today, not as a mass clean out, but as a seasonal change-over, or if you will... choosing my fall line-up.
This is my closet ten minutes ago...


It clearly has more than 10 items in it. It also has more items in it than it did at the beginning of summer because I have done some shopping through the months, and because fall items are starting to creep in there, crawling out from their summertime storage bin as mornings and evenings turn cooler around here.
That's how I knew it was time to do this...


That's everything I own, minus workout and intimates, all four seasons, pulled out onto the bed to be looked at, tried on, and judged.
At this point, I immediately start with the things I know I'm done with for the season, sundresses and true summer items that I can pack away or toss back to Goodwill, depending on how they lived it up this summer.
The bins that had been holding my fall/winter things are now empty because everything is on the bed, so I can start putting in the sundresses etc. as I go.
Next, I sift through the stacks and pull out the most favorite things I see. The ones I can't wait to wear because I miss how great they feel on me.


I end up with a stretchy dress that I recently rescued from a resale rack, a 3/4 sleeve raglan tee that has been my go-to all summer and I'm not ready to part with, a plaid button down, and a soft and chunky, black cable knit sweater that feels like a cozy warm cloud, if clouds could feel cozy or warm.
Out of that entire pile, these are the only 5 items that I would live in every day if I could wear 5 items at a time, so I know I'm on the right track.
But... one often wears pants with their tops, which means I'm not done, yet.


I do the same thing, pulling out only the bottoms that I would happily wear on a sixteen hour flight.
As you can probably tell, I live for comfort not style.
This time I have the one pair of shorts that I believe were made in heaven because they feel great when all other shorts seem to shift or ride or pinch when I live actual life in them, a pair of dark blue jeans that can do that magic jump from casual to classy depending on the shoes, a grey jersey skirt, black J. Brand jeans that have their own magic ability to fit me well no matter how much weight I gain or loose, and a pair of light blue skinny crops from Gap.
The dark denim shorts and jeans are a give in with any of the tops, they go straight into the closet, but the other two items...


Less versatile.
I try them both on again with  the tops and keep them in mind as I go through my stacks again for my secondary picks.
The skirt was a favorite last spring, but is just not holding its own this season. It goes into the bin with the sundresses. 
The baby blues work well with the tee and the sweater, as well as the the other three tops I choose from the stack so they get hung up, for now.


I add in a couple extra dresses and a few tank tops because this is Kansas and the weather here knows no rules.
And there we go.
One fall closet line-up.


There happens to be 22 items there, if you're a numbers kind of person.
I don't have a magic number. I keep extra hangers in the back because I know I will come across something somewhere and decide to bring it home. But I do keep guidelines in my head. I know there's only seven days in a week and that I do laundry more often than that. I know that I don't like tight waist bands or fabric that doesn't breath. And I also know that even if there were ten pairs of jeans hanging in my closet, I would wear my favorite pair three times over before reaching for any other.

So what happened to the rest of those clothes on the bed?
They were sorted into three categories:

Goodbye to Goodwill - for anything that didn't make me say "Oh there you are my old friend!" as it came out of the bin, and a couple of summer things that didn't earn their keep.

See you next spring - into the storage bin - for all the summer things I can't wait to see again.

And the rest of the fall/winter that I love, but didn't meet my immediate hanger needs, got folded and put into my reserves.


This cabinet is opposite my hanging rod and easy to reach when I'm ready to swap out those tanks and short sleeve dresses for warmer wear.

I also have drawers with gym clothes and lounge wear.


And I keep a hook on the closet door where I hang my current sleep items.


I keep two or three here and swap out between washing. With my husband's work schedule, he's often asleep before me. I find it easier to grab something off the hook than rummaging around a drawer in the dark.

And that's it.

After my initial purge, and a lot of internet research, I have realized the excess of items that I used to have, came to live in my closet because I bought them.

Research is key.

It turns out, I like to buy clothes.
I like the hunt.
But with even more research and many hours of blog reading and YouTube watching, I have refined how I think about the hunt and greatly cut back on what I actually bring home.
I have taken time to get to know me, and what I like to wear.
I have taken time to get to know what I don't like to wear, and I do my best at not buying those things in the first place.
Every now and then I make a bad call and something comes home only to hang untouched on the rod for an entire season.
That's ok.
No one's perfect.
Except for maybe, Jennifer Scott.
Oh, probably not even her.
But for the last four years I have been happy walking into a closet that doesn't threaten to swallow me alive. It's easier to get dressed every day when everything in there is something you want to wear, and easier on the budget when you know your closet already has everything you need to get through the week.

And if there's one thing we like as much as comfort around here...
it's easy.


Tuesday, September 6, 2016

Plan With Me blog-style September Grapevine


One of these days I'm going to gain enough courage to hook up a camera and do this video style like the rest of the world... but until then, here's another edition of bad dining room window pics of my weekly planning.
I know you're excited.
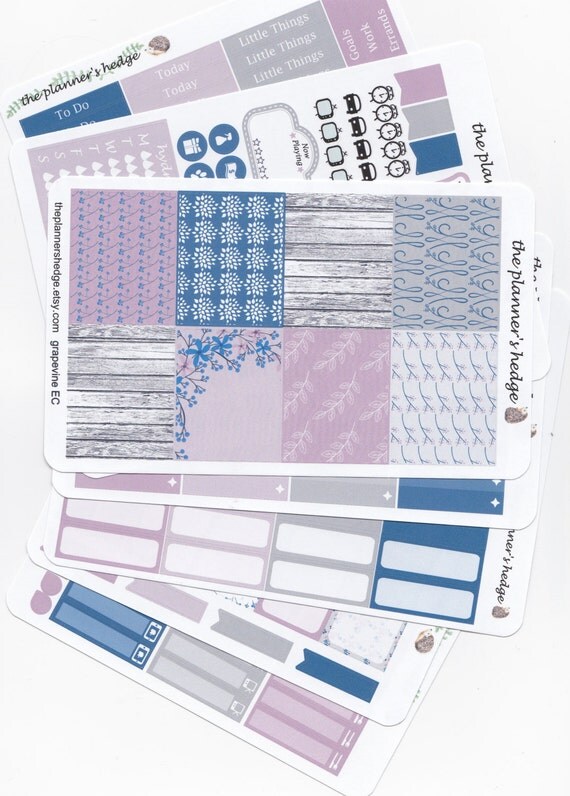
This week I'm using the September Grapevine full weekly kit.

September Grapevine Weekly Planner Kit

With one exception. I am not using a sampler sheet.
What???
Yup. No sampler.
Why???
Because I'm lazy.
Actually, it's because I happen to be missing the sampler sheet from this one and I also happen to have the remnants of other samplers that I've decided to pilfer instead, but it means I don't have the Weekend banner or a few other things... crazy, I know.
Plus it's already Tuesday morning and I'm just now getting around to planning the week. 
This Kansas girl likes to live on the edge.

Last week, I did a whole paper comparison post where I fell deeply, madly in love with a new found premium paper, and all week I couldn't help but run my fingers over my pages.
(This Kansas girl might also have a problem.)
And I am happy to report that I have finally received by big expensive order of that beautiful stuff to upgrade all the kits in my shop.
Hooray!

However, today I am not obsessing over my paper, I am using up the kit I already printed out on plain old regular matte sticker paper for personal use, so I will not spend my week stroking my pages. It is still quite pretty, though. I'm pretty picky when it comes to purple, but this one has some very agreeable shades, if I do say so myself.


This happens to be the only kit (I think) I have with the big wide washi band for the bottom. I usually design my kits with two narrower strips that you can stack or not stack at the bottom, the top, the middle, you see where I'm going with this. Because I like options. I often use the space at the bottom to extend my day, or write my shop updates, or keep track of design ideas...
I don't usually like covering that whole area with a big flat band of decor. But this week we have already decided I am throwing caution to the wind.
It's also going to be a different week for my usual work plans. My daughter is having surgery on Thursday, so I plan on the last four days of this week being anything to keep her happy and comfortable. 


This kit is also my only (I think) kit with solid washi instead of patterns for the 1.5 inch strips, and I was happy for that when I got down to the end and had varying heights of white space left beneath my Littles. I like the way the solid washi filled in without making it overwhelming pattern. I may have to make more like that.
What do you think of plain verses patterned washi strips?
Do you use the big bottom bands of washi or do you extend your days?
I'm curious.


Here are the stickers I have leftover so far. You know some of those will get used as the week goes on.
And here's the partially inked spread. 


Even though it's Tuesday already, I will go in and fill out my To Do list of the things I did yesterday and this morning. I like to be able to look back and see when things were done as much as seeing what needs to be done. It helps me know when to do them again and when I can get away with skipping a chore till next week.

How do you handle a late planning week? Do you retro plan, too, or just leave it blank?

Overall, I didn't miss the sampler sheet too much. I did pull some clocks and a laptop from leftovers of previous weeks, and I'll be digging through my stash for more as I fill in. 

If you have made it this far, leave me a comment to let me know I'm not alone. And you feel like stopping by my Etsy shop, use coupon code BLOGGER25 for 25% off any purchase of $20 or more! 


Wednesday, August 31, 2016

Coupon Code

I have found a beautiful new paper that I just love! I'm upgrading my listings and celebrating with a coupon code for you to try it out! Use code UPGRADE25 for 25% off any purchase of $20 or more. Expires September 3rd so don't wait!

Tuesday, August 30, 2016

Plan With Me "Fall in Love"


Ahhh, fall is in the air...
well, it is a little bit first thing in the morning before the sun takes over and heats it up to 85*
I think it's the kids going back to school that's making me think fall, and the changing colors of the pages in my Erin Condren LifePlanner.
Did you think I was going to say leaves?
That doesn't happen much in Kansas, not the way it did when I lived in Vermont.
Does any of this have to do with a PWM?
It does when you take a look at the changing colors I was faced with this week...


Gold into purple smeared all over the place. It's moments like this that I wish I had gone with the neutral layout.
I had no choice but to hop on Etsy and buy some new colorful graphics and turn them into a colorful fall kit that would coordinate with all that watercolored ummm... stuff.
And here it is...


I called it "Fall in Love" because that's how I felt when I actually found some graphics that had all the colors I needed to make it through EC's next few months of watercolored challenges.

This kit is a four page Sampler Kit. That's what I call the kits that don't contain the full box ombres or washi sheets. I usually use the Full Weekly Kits because of my love for the ombres and washi, but this week I was re-formatting the Sampler Kits as well as trying out some amazing new sticker paper, so I wanted to test it all out and see how far this kit could go.


Without my normal ombre checklist boxes to stack with my headers, I turned the book sideways and placed the headers and checklist flags for my to do's. 
At this point I was already in love with my new vinyl like paper. 
The headers lifted up easily even though it is not labeled as repositionable. I was able to pull them up and straighten them out as many times as I needed and the little babies didn't fade or wrinkle or loose their shape. 
Love.


I tried something new in this set and made a two box spread with that fabulous car.
At this point I also wanted to kick myself for forgetting to calibrate my new Silhouette cutting machine! The cuts are off by just enough to show the white on the top of several of the stickers, but I decided to finish the spread and blog it anyway.  
Guess what I'll be doing today... ugh.


Despite the calibration fiasco, I really like the way they came together. With the lack of washi, and the adorableness of the two box car, I decided to layer that poor miscut weekend banner over the Today headers. I guess I can do without washi after all!
Maybe.


Last week I tried placing a half box at the bottom of each day to give me an extra little space for incidentals. 
At first, I didn't really like the look of it, but it became so useful as the week went on that I did it again this week. However, I didn't really like the look of that last line hanging out there at the bottom, and no washi sheet! 


Tape to the rescue.


And here's my favorite PWM trick I learned from Youtube... the old credit card washi cut. In case you haven't been around long, just keep an old store card in your washi stash. Line it up and tear the tape upward against it for clean straight edges.
One of those, can't believe I never thought of that, moments.


And there it is.


Just a few stickers left. I'm sure I will use most of them as the week goes on.
As it turns out, I really liked using the sampler kit. 
I liked not having any waste.
And the new paper?
LOVE
I just placed a huge order to upgrade my shop, and I will attempt to do a paper comparison post tomorrow.
You know by now that when I say tomorrow, it could likely be a week!
If you made it this far, thank you for visiting, and please leave a comment below so I know I'm not alone.


Comparing Sticker Papers

Ever wonder what the difference is between all the different sticker finish options?
If you've ever shopped on Etsy for planner stickers there's usually three main options.
Regular Matte
Glossy
Premium Matte or Matte Vinyl
Those are the three types I see most and the three I will be testing today.


First of all, each shop has their own sources for their paper, and believe me they are not revealing those sources, so the actual paper may vary quite a bit from shop to shop. 
I have even received an order from one shop that each sheet appeared to be printed on a different type of matte paper.
So this is not exactly a tell all of the secret world of sticker paper, sorry, but more of a general and badly photographed side by side test of three commonly used paper options to help get you started in selecting stickers for your planner. 
Personally, I started out with regular matte paper when I started buying stickers for my planner. They are usually the cheapest option, and I was worried that glossy would not take pen well and might stand out too much on my planner page... all that shine, ya know?
To be honest, the first time I actually tried glossy was for this comparison, and I admit I am surprised at how much I like them.
Can you say - Pretty!
Oh my gosh, pretty.
But despite that sleek, shiny appeal, they didn't hold up in other tests... making that oh so annoying decision between pretty and practical more annoying than ever.

So let's get to it.


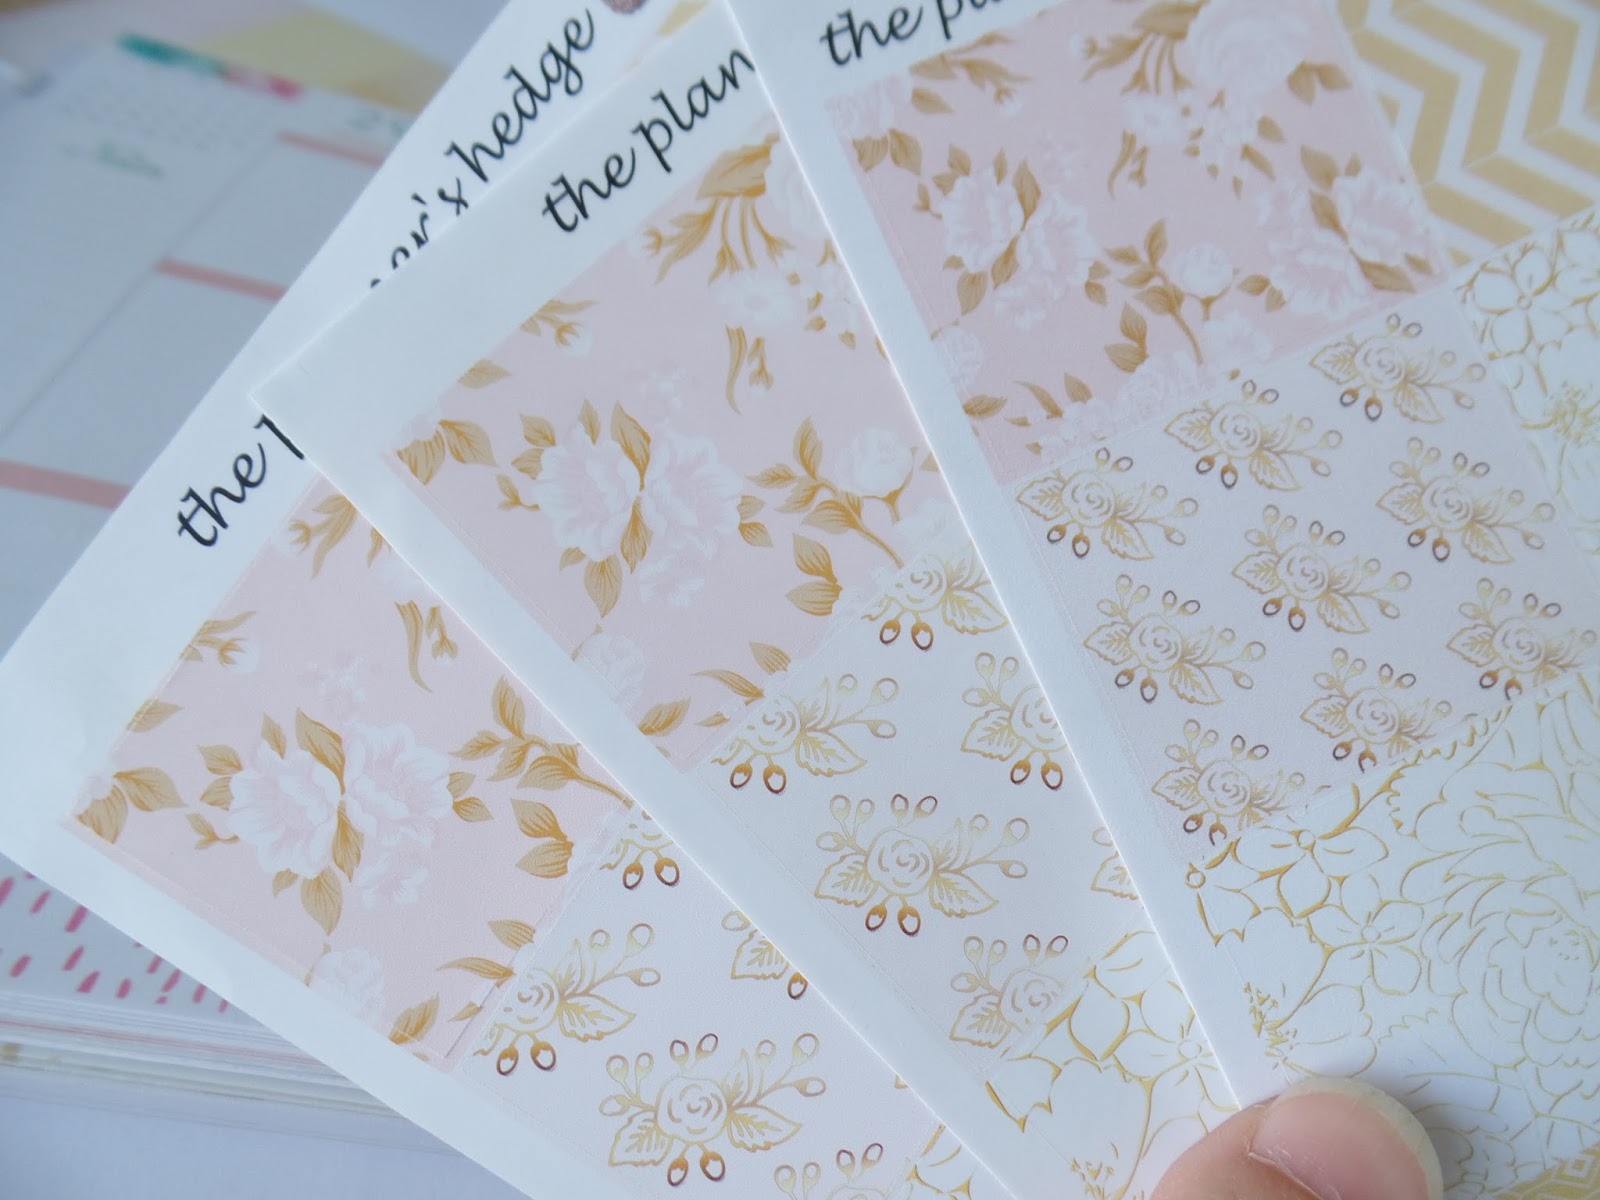
Three identical sticker sets printed on different papers.
My first impression was how different the colors appeared. Less noticeable in my poor dining room window photos, I'm afraid.
In the photo above I have regular matte sticker paper on top, glossy in the middle, and premium on the bottom.
The colors on the regular were fine, quite beautiful in fact, but if your screen is better than mine, you might notice that they are a bit darker, a bit grayer, and not quite as vibrant. 
The colors on the glossy were also beautiful, but a bit paler. The darker golds were rich and gorgeous but the pale pink was not as visible.
The colors on the premium blew me away. I'm always hearing how much better glossy does on showing ink, so I was not expecting it to come out second best. The golds were soft and rich, the pale pink held its own, and the hues overall were vibrant and impressive. It looked like it had been printed on a different printer!


Here's another shot,
regular
glossy
premium
Now, the other big difference that you won't be able to tell no matter how I photograph is how these papers feel.
The regular you can imagine. It feels like paper. It's smooth and sturdier than your average printer paper, I shopped around a bit before I found a nice, clean, matte sticker paper that was affordable, but it is still just paper.
The glossy is slick and sturdy, a bit thinner than I expected, but has good body, if that makes sense.
The one I'm calling premium, is the one I couldn't stop touching! It has a soft buttery texture. Like a fine, smooth vinyl. If that makes any sense.

At this point, the three choices all have some differences, but so far it's more preference than performance. But we don't just buy these stickers to look at them...
ok, we sort of do. But to justify those purchases we actually use them. Usually.
So here's some performance tests...


Three headers. And just like before,
regular
glossy
premium
And now the color coding thing makes sense, right?

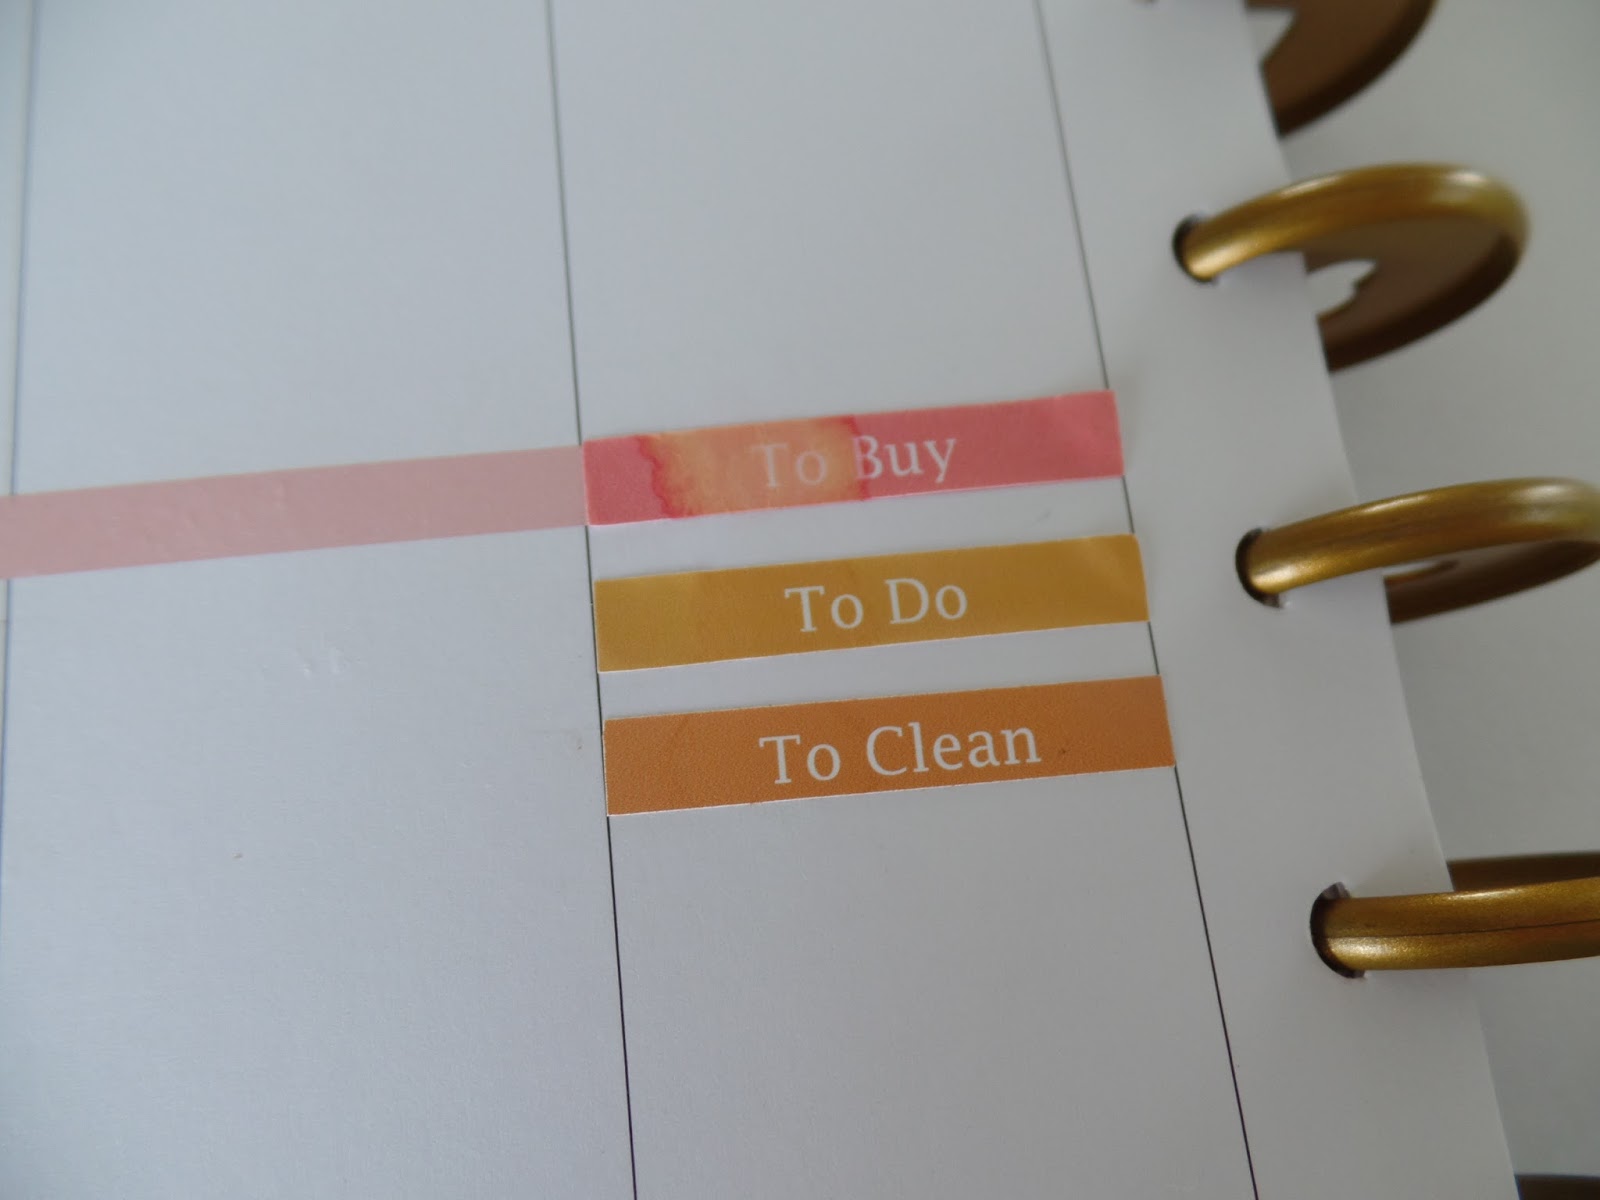
I stuck these headers into my classic Happy Planner today. But how often do you stick them down and they are just perfect so you leave them alone and move on?
Not often if your borderline psychotic like me.
No, I stick them down, then peel them up because they weren't quite straight, then peel them up because they still weren't quite straight, then peel them up because I changed my mind about where to put them, then peel them up... I think you get the picture.
And all the while I am cussing myself out on the inside because I know what all that peeling and sticking does to the overall end result. But. I. can't. stop.
Psychotic.


So here I peeled them up.
You can see that the regular pulled at the paper a bit.
The glossy pulled at the paper even more.
The premium didn't pull the paper up, but it did leave a little sticky glue behind.
None of them left the paper clean enough to go bare. I would have to place a sticker back down to cover the evidence from each of them.


Then I stuck them down in the next square. You can see the corners show the damage of lifting even though I was careful.
One more time...


Now the corners on the regular and glossy are really showing the damage, and the edges are pulling up a bit and looking stretched. The premium is looking pretty good. I ran my finger over the corner and the wrinkle smoothed out and stuck flat again. Very good.


Next I tried something that I always try to avoid, but I live a real life with real kids in a real house and real hands that I occasionally wash.
I can't tell you how many times my planner has suffered an accidental water attack, but this is the first time I did it on purpose.
One drop of water on each sticker.


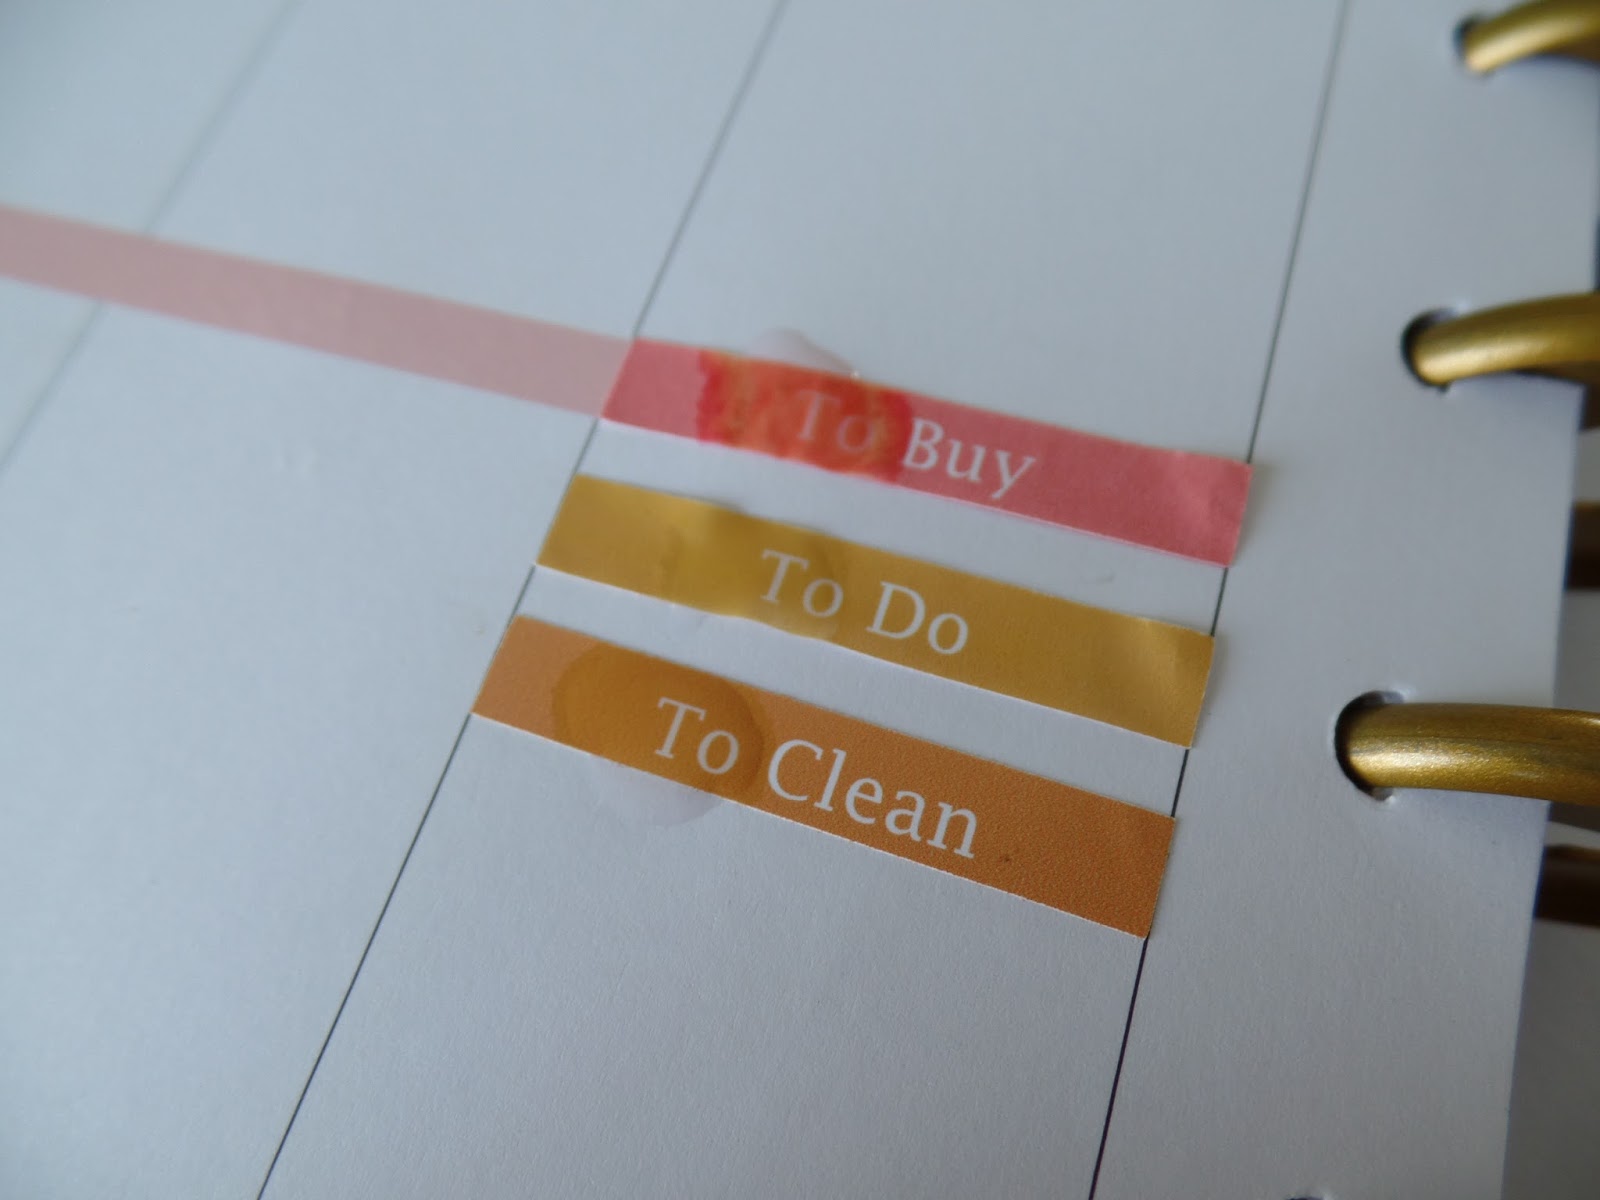
The regular immediately did what it always does. It bleeds and fades.
The glossy didn't appear to bleed, but the actual paper sort of warped and got real fragile.
The premium got wet.


After a few seconds I dabbed them dry with a towel and let them sit to air dry for about an hour.


In the end, the regular looks pretty sad. The corners and top edge won't lay flat anymore from the re-positioning, and the ink ran a mess from the water.
The glossy shows some wrinkling and edge lifting from the re-positioning, and the water left behind a shadow like mark and wrinkly texture.
The premium impressed the heck out of me. It's laying flat. All that moving didn't seem to bother its edges at all, it's looking smooth and clean. If you look really closely you can just make out a shadow of a ring left behind where the water sat, slightly darker pigment. 
Seriously impressed.
So at this point, I have a clear front runner... but these stickers aren't just for looks.
Really they're not.
I have to write on them, too. 
Now, before you scroll down, remember that my handwriting is my nemesis.
I can't improve it. I've tried.
I give up.
Don't judge me.


For this I cut strips of each paper and placed them on a piece of regular paper.
It's all very scientific and precise.
And as usual we have 
regular on top
glossy in the middle
premium at the bottom


I wrote on each one with my favorite pens. Staedtler being permanent (and hard to spell), le pen being a felt tip, G2 gel pen being a gel pen, and I'm not going to explain ball point or pencil. You can google those if you need to.
Each time I wrote the word, I counted to three then dragged my finger across it to check for smearing.
I was cringing when it came to smear testing the glossy. I just knew it was going to smear like crazy and leave ink all over my fingers.
I was wrong.


There was only the slightest line of ink that ran at the bottom of the ball point pen and I'm pretty sure that was just one of those little ink balls that fuzz up and fall off of ball points now and then.
But I had been sure the gel pen would smear. Sure.
So I tried again with a darker gel pen ink color, and this time I did not count to three, just wrote and dragged my finger across...


And haha! I knew it would smear! Ok just a tiny little bit at the bottom of the letters, and guess what? The regular matte paper smeared a tiny bit, too. But the premium?

Crystal clear.
You can't argue with science, people.

Just in case you have outstanding observation skills and you're wondering why I didn't write Pencil on the glossy... I did. It's there, it just doesn't show up. 
So, if you're a pencil planner, I don't recommend glossy, and in fact, the pencil is the only one that didn't show extra beautiful on the premium paper either, it's visible, just not as dark.

All things said and done, how am I feeling about my sticker paper options?

Regular matte is a good economical choice.
It takes all inks and pencil well, but it hates water and doesn't agree with my re-positioning sticker perfection.

Glossy is pretty.
Oh so pretty.
But it shrivels at the sight of a wet hand and loses its stick and shape with re-positioning.

Premium matte with its vinyl like qualities is a strong durable choice. It is beautiful and stroke worthy (I don't mean that to sound nasty) with its soft buttery texture that takes ink and locks it in. It laughs in the face of my freshly washed hands and keeps its integrity through my OCD move-around habits, though it does leave a bit of glue behind when lifting that might be messy if you're not putting a sticker back on that spot.

In my opinion, the premium is the clear front runner and I have just placed a huge order to upgrade the stickers in my Etsy shop even though it's going to eat into my non-existent profits. I feel it is a better product over all and that's what I want to have represent me, just in case I start getting orders.

If you have made it this far, please leave a comment on what type of sticker paper you prefer. Have you found any other options out there? I'm curious... and I'd appreciate it!