Showing posts with label plan with me. Show all posts

Tuesday, September 6, 2016

Plan With Me blog-style September Grapevine


One of these days I'm going to gain enough courage to hook up a camera and do this video style like the rest of the world... but until then, here's another edition of bad dining room window pics of my weekly planning.
I know you're excited.
This week I'm using the September Grapevine full weekly kit.
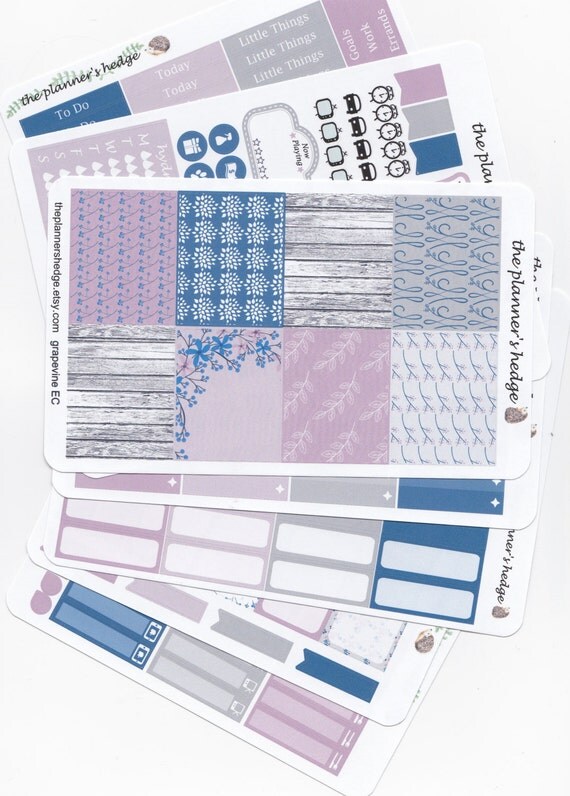
September Grapevine Weekly Planner Kit

With one exception. I am not using a sampler sheet.
What???
Yup. No sampler.
Why???
Because I'm lazy.
Actually, it's because I happen to be missing the sampler sheet from this one and I also happen to have the remnants of other samplers that I've decided to pilfer instead, but it means I don't have the Weekend banner or a few other things... crazy, I know.
Plus it's already Tuesday morning and I'm just now getting around to planning the week. 
This Kansas girl likes to live on the edge.

Last week, I did a whole paper comparison post where I fell deeply, madly in love with a new found premium paper, and all week I couldn't help but run my fingers over my pages.
(This Kansas girl might also have a problem.)
And I am happy to report that I have finally received by big expensive order of that beautiful stuff to upgrade all the kits in my shop.
Hooray!

However, today I am not obsessing over my paper, I am using up the kit I already printed out on plain old regular matte sticker paper for personal use, so I will not spend my week stroking my pages. It is still quite pretty, though. I'm pretty picky when it comes to purple, but this one has some very agreeable shades, if I do say so myself.


This happens to be the only kit (I think) I have with the big wide washi band for the bottom. I usually design my kits with two narrower strips that you can stack or not stack at the bottom, the top, the middle, you see where I'm going with this. Because I like options. I often use the space at the bottom to extend my day, or write my shop updates, or keep track of design ideas...
I don't usually like covering that whole area with a big flat band of decor. But this week we have already decided I am throwing caution to the wind.
It's also going to be a different week for my usual work plans. My daughter is having surgery on Thursday, so I plan on the last four days of this week being anything to keep her happy and comfortable. 


This kit is also my only (I think) kit with solid washi instead of patterns for the 1.5 inch strips, and I was happy for that when I got down to the end and had varying heights of white space left beneath my Littles. I like the way the solid washi filled in without making it overwhelming pattern. I may have to make more like that.
What do you think of plain verses patterned washi strips?
Do you use the big bottom bands of washi or do you extend your days?
I'm curious.


Here are the stickers I have leftover so far. You know some of those will get used as the week goes on.
And here's the partially inked spread. 


Even though it's Tuesday already, I will go in and fill out my To Do list of the things I did yesterday and this morning. I like to be able to look back and see when things were done as much as seeing what needs to be done. It helps me know when to do them again and when I can get away with skipping a chore till next week.

How do you handle a late planning week? Do you retro plan, too, or just leave it blank?

Overall, I didn't miss the sampler sheet too much. I did pull some clocks and a laptop from leftovers of previous weeks, and I'll be digging through my stash for more as I fill in. 

If you have made it this far, leave me a comment to let me know I'm not alone. And you feel like stopping by my Etsy shop, use coupon code BLOGGER25 for 25% off any purchase of $20 or more! 


Tuesday, August 30, 2016

Plan With Me "Fall in Love"


Ahhh, fall is in the air...
well, it is a little bit first thing in the morning before the sun takes over and heats it up to 85*
I think it's the kids going back to school that's making me think fall, and the changing colors of the pages in my Erin Condren LifePlanner.
Did you think I was going to say leaves?
That doesn't happen much in Kansas, not the way it did when I lived in Vermont.
Does any of this have to do with a PWM?
It does when you take a look at the changing colors I was faced with this week...


Gold into purple smeared all over the place. It's moments like this that I wish I had gone with the neutral layout.
I had no choice but to hop on Etsy and buy some new colorful graphics and turn them into a colorful fall kit that would coordinate with all that watercolored ummm... stuff.
And here it is...


I called it "Fall in Love" because that's how I felt when I actually found some graphics that had all the colors I needed to make it through EC's next few months of watercolored challenges.

This kit is a four page Sampler Kit. That's what I call the kits that don't contain the full box ombres or washi sheets. I usually use the Full Weekly Kits because of my love for the ombres and washi, but this week I was re-formatting the Sampler Kits as well as trying out some amazing new sticker paper, so I wanted to test it all out and see how far this kit could go.


Without my normal ombre checklist boxes to stack with my headers, I turned the book sideways and placed the headers and checklist flags for my to do's. 
At this point I was already in love with my new vinyl like paper. 
The headers lifted up easily even though it is not labeled as repositionable. I was able to pull them up and straighten them out as many times as I needed and the little babies didn't fade or wrinkle or loose their shape. 
Love.


I tried something new in this set and made a two box spread with that fabulous car.
At this point I also wanted to kick myself for forgetting to calibrate my new Silhouette cutting machine! The cuts are off by just enough to show the white on the top of several of the stickers, but I decided to finish the spread and blog it anyway.  
Guess what I'll be doing today... ugh.


Despite the calibration fiasco, I really like the way they came together. With the lack of washi, and the adorableness of the two box car, I decided to layer that poor miscut weekend banner over the Today headers. I guess I can do without washi after all!
Maybe.


Last week I tried placing a half box at the bottom of each day to give me an extra little space for incidentals. 
At first, I didn't really like the look of it, but it became so useful as the week went on that I did it again this week. However, I didn't really like the look of that last line hanging out there at the bottom, and no washi sheet! 


Tape to the rescue.


And here's my favorite PWM trick I learned from Youtube... the old credit card washi cut. In case you haven't been around long, just keep an old store card in your washi stash. Line it up and tear the tape upward against it for clean straight edges.
One of those, can't believe I never thought of that, moments.


And there it is.


Just a few stickers left. I'm sure I will use most of them as the week goes on.
As it turns out, I really liked using the sampler kit. 
I liked not having any waste.
And the new paper?
LOVE
I just placed a huge order to upgrade my shop, and I will attempt to do a paper comparison post tomorrow.
You know by now that when I say tomorrow, it could likely be a week!
If you made it this far, thank you for visiting, and please leave a comment below so I know I'm not alone.


Tuesday, August 23, 2016

Planner Stickers 101, stickers explained!

When I tell people that I have opened an Etsy shop, I get in general an interested smile, "Oh, how neat!"

When I tell them I am selling planner stickers, the smile freezes and fades as I see their brains working on a polite way to say, "What the hell is that?"

Well, relax folks, there's no need to stress the manners portion of your brain, because this post will tell you exactly what planner stickers are no matter how you phrase that question. 
I'll even show you some examples and some different ways of using them.
See how nice I can be?

Succulent Garden Sampler Kit

Planner stickers are, just that. Stickers that you put in your planner.
Why? You may ask...
Because it's fun.
It's a creative outlet.
Remember scrapbooking?
Well, it's like that, but more practical.
And I am nothing if not practical.
As long as the practical comes in pretty, coordinated colors, and neat straight lines.
And guess what? Planner stickers do.


I could end this post right there - planner stickers are stickers that you put in your planner - and some people logged off just now thinking well that's exactly what I thought, but maybe someone is still there wanting more. Maybe?

It can be confusing because the planner sticker world wasn't created with a team of people designating names for specific things like the people who decided what to call a ball point pen. Everyone knows what a ball point pen is because they did a really great job. But planner stickers were created by a mass of individuals, each in their own home, describing their products on their Etsy shops as what they call them.  
Functionals, weekly, monthly, reminders, icons... and any given shop may call them the opposite of another... When creating my shop I first had to research every other shop I could find just to figure out what to call some things, only to discover that one person's monthly was another person's weekly, etc. Ugh! No wonder I get so many blank what the hell is that smiles.
So for the duration of this blog, I'd just like to state that I use terms based on "in general, this is what I've found".
 Ok? Good.
In my shop a "full weekly kit" is a set of stickers intended to cover a weekly spread. Makes sense doesn't it?

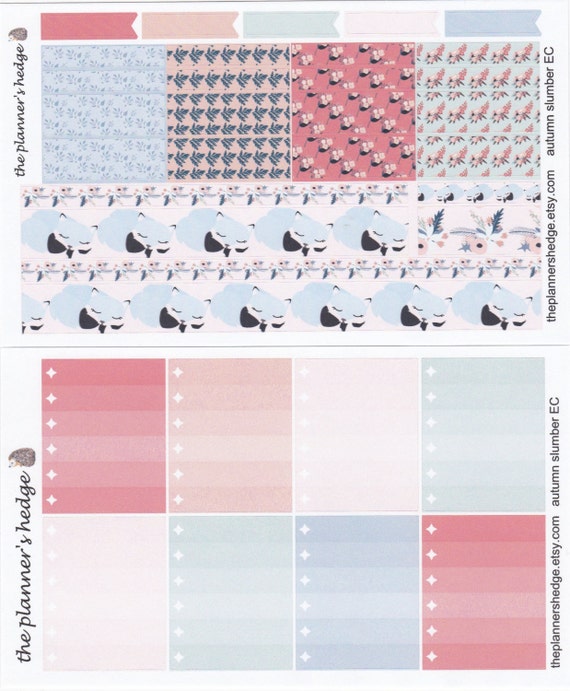
Autumn Slumber weekly planner stickers - a la cart
would cover this week in my planner

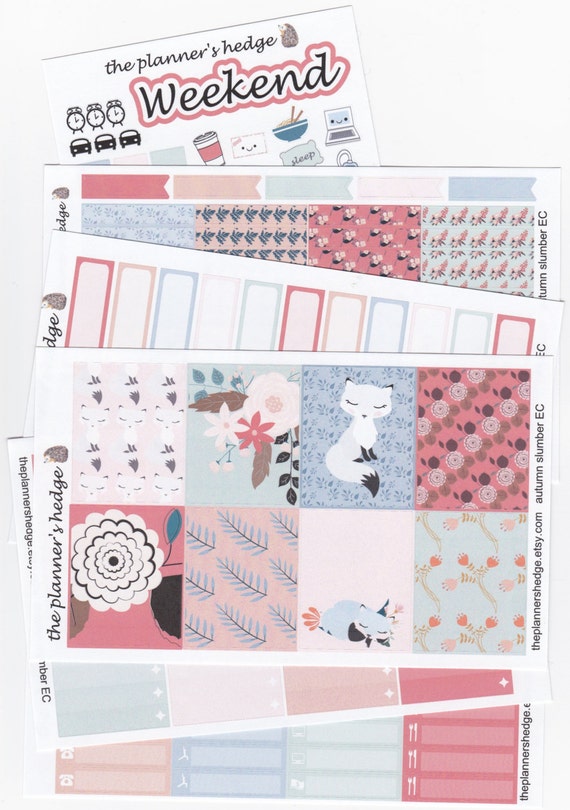
My weekly kits have 6 or 7 sheets including:

 
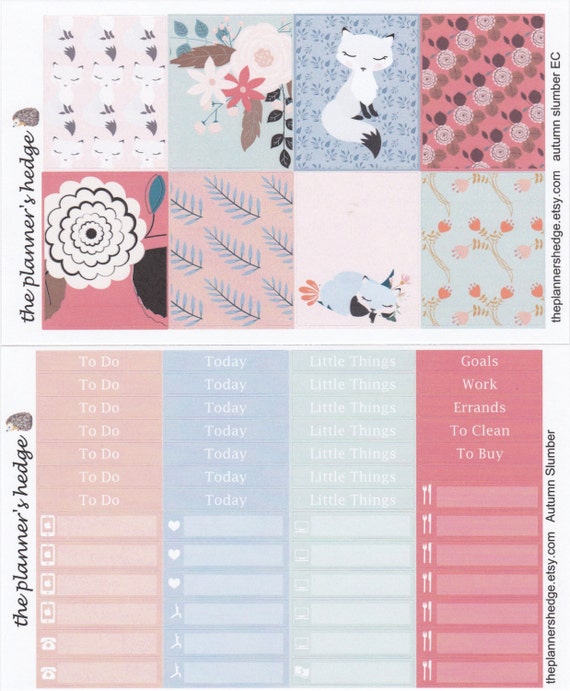
a sheet of decorative full boxes (top)
a sheet of headers and littles (bottom)

 Headers may seem more obvious, a handful of miscellaneous titles for specialty or sidebar use and 7 of each of the basic To Do, Today, and Little Things to place at the top of each daily section, but the littles themselves tend to change often from shop to shop, and quite honestly confused me at first.
In general they are all the little things you may want to remember or track that aren't really something on your to do list, like writing what dinners you have planned or noting that you watched episode 47 on your 230 episode series so you can pick up where you left off next time you have a day to binge. 
These also come in handy to look back at your week and see that you haven't posted on Instagram in a few days or taken your daily walk in over a week... but who's judging? 
It's just nice to know.
I tend to use them has things I have done or would like to do, like call my parents, rather than the tasks I have to do which go on my To Do lists.


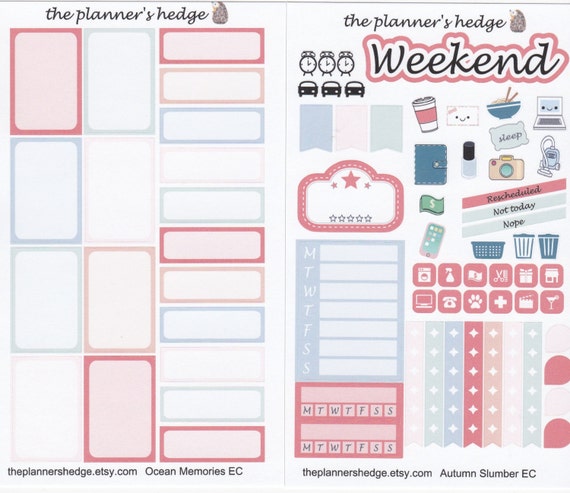
On the left, you have a sheet of half and quarter boxes.
The confusing part is that the half boxes are 1 inch tall while the quarter boxes are a half inch tall.
What?
This is because they are based off the Erin Condren Life Planner boxes which are 1.5 wide by 2 inches tall, therefor 1 inch is half the height and .5 is one quarter.
Now it makes sense. 
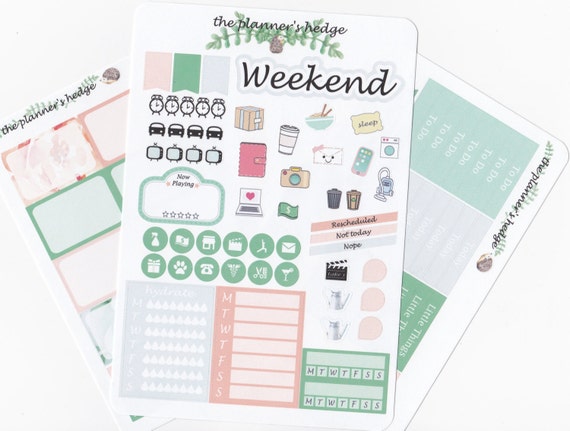
The sheet on the right is called a sampler sheet. It has a weekend banner, a bunch of fun little stickers for tracking chores and free time, clocks and cars for appointments or errands, checklist flags, regular flags, and a few boxes for the sidebar. The blue box is for a weekly schedule (work, cleaning, exercise) and the two red boxes are called habit trackers for things you want to try to do daily, like take a walk, drink your water, write a blog post... if you're good at things like that.
Then there are those two rows of little square icons. I recently made mine square (they are often round) because I wanted to be able to line them up in the ombre checklist boxes (below) without running into other lines and to layer them on the littles boxes when I might need a pet reminder instead of an exercise reminder, or whatever.  

And last we have the washi sheet (top) 
and the ombre checklist boxes (bottom)

The washi sheet is one I have a love-hate relationship with. It's basically made up of long sticker strips that act like washi tape to cover up extra space at the bottom or top of your planner page, and several 1.5" box-width mini strips in varying heights to fill in or decorate here and there in your spread. I do like the long washi also known as the bottom washi... (yes, bottom washi is a hilarious term if you have an eleven year old boy around). It can really pull the whole page together and is often my favorite thing to design. But all those little box-width strips can be a real tricky balance of usually overwhelming pattern to my simple taste.
And for every time I have an odd little strip of space that I absolutely need a little piece of washi to fill in for that seamless no-white-space look... I have a half a sheet of unused pieces that really have no purpose. 


In this spread you can see the bottom washi of the adorable sleeping fox stacked with the floral strip at the bottom of the page, and I used some of the box-width washi layered behind the weekend banner to help it stand out without covering up the decorative full boxes above it.

The ombre checklist boxes, however, win my prize for favorite workhorse. In this spread, I used them as the top row, but they tend to move around the page week to week. I use them in my everyday, in the sidebar, I cut them in half when I need extra at the bottom or short lists for relaxing days... they are always a fully used sheet of stickers in my weekly planning.


And now I fully understand why most Plan With Me's are done as videos! 

If I haven't completely lost you, I will be showing more of this in a separate Plan With Me post tomorrow. 
I know you're excited.

Once again, thanks for sticking with me... get it? Sticking?
Ok, no more of that.
And if anyone out there actually read this far, please leave me a comment to let me know I'm not alone. I appreciate it.